


Introduction to Docker (Module 2): Containerize a React.js Application (TypeScript).
Step by Step Guide to packaging apps into containers with Docker!


This article aims at giving you a beginner practical experience at packaging applications into containers with Docker. By the end of this Article you should be able to do the following completely:
Install Docker Desktop on your personal computer.
Pull and run images from Docker Hub on your local machine.
Create images from Dockerfiles and run them as containers for your applications.
Containerize a React.js App finally.
If you randomly stumbled across this article and are not still familiar with the concepts of containers and how they work. I have a previous article to this one explaining the full concept here.
Docker Hub
"Docker Hub", sounds similar to something else right? like "GitHub". You are correct and close to the meaning too. For people who work with software, GitHub is a very important platform as you can push/store code there and also collaborate with other developers on projects both personal and official.
This is the same with Docker Hub, it is an container registry for storing and sharing container images. It enables you to pull and run images as containers, our first task will be to pull an image and run it as a container on our local machine.
Install Docker Desktop on your Machine
First we have to download and install docker desktop on our machine, this automatically installs the docker engine on your computer, it also enables you to carry out other operations on your containers.
Docker Engine is an open source containerization technology for building and containerizing your applications.
Click here to download. Windows users may notice that it also installs "wsl" (windows subsystem for Linux) automatically, this enables windows run Linux environments with installing Linux on your machine.
Now open your docker desktop after installation, you should see a window like this:

With this interface, you can monitor the containers and images currently running on your computer and also other important operations.
Pull an Image from Docker Hub
Now, let us head over to Docker Hub and pull an image just like you would on GitHub when working with software. This is the Docker Hub interface, I want to run an ubuntu image as a container on my computer and so I search for it.
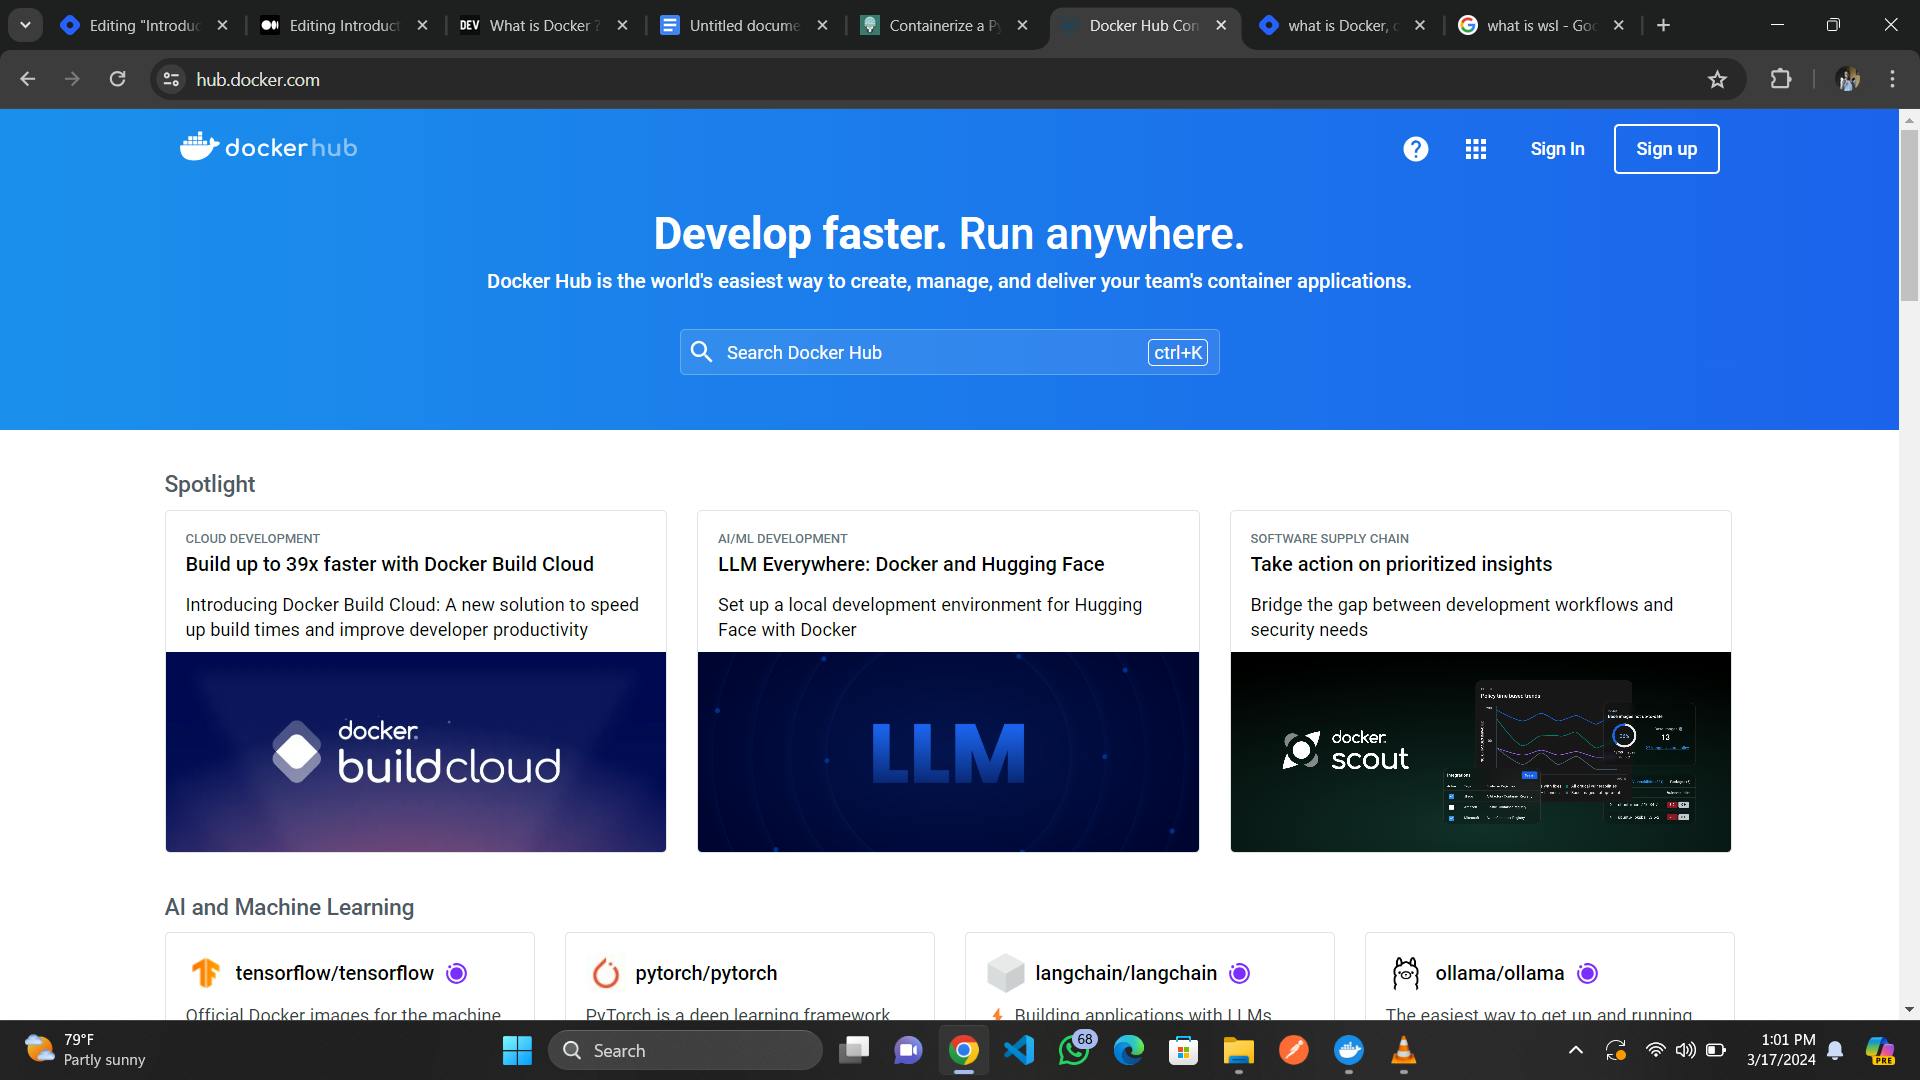
I have chosen ubuntu because it a perfect way to show you that you can run heavy software in a light portable form through containers.

Now open your code editor and create a folder dedicated to learning about docker, in your terminal run the command.
docker pull ubuntu
You would see it pull the image and then we can run the image as a container using the command.
docker run -it ubuntu
This command runs the image as a container making ubuntu available over the command line, this is really impressive. Your command line should look somewhat like this below, if you followed all the above steps:

Head over to your Docker Desktop environment and see the images running, you can see below that the ubuntu image shows here. Just like this, all images we run as containers will be viewed in the containers tab.

Containerize a React Application with Docker
In this section we are finally going to explore packaging an application into a container by ourselves. We will work with a TypeScript React Application as our test application.
Step 1 : Create a React App
Create a React Application using vite, a local development server. Run the command below:
npm create vite@latest docker-react
The above command is for creating apps with vite, replace the name "docker-react" with the desired name for your application. Ensure to select React as your framework and TypeScript as your preferred language, plain JavaScript is fine too if you wish.

Step 2 : Create a Dockerfile
A Dockerfile is a text document that contains all the commands needed by the host system to assemble an image. Docker can build images automatically by reading the instructions specified.
It consists of instructions that define the environment inside a Docker container, including what base image to use, what files to copy into the container, what commands to run to install dependencies, and what command to run when the container starts.
It should be named "Dockerfile" exactly with the same case. Copy the following below into it, the comments provide a brief description to the commands you can read more about Dockerfile specifications here.
# tells Docker what base image to use as a starting point for the react app
FROM node:20-alpine
# create a user with permissions to run the app
RUN addgroup app && adduser -S -G app app
# set the user to run the app
USER app
# set the working directory to /app
WORKDIR /app
# copy package.json and package-lock.json to the working directory
COPY package*.json ./
# executes commands inside the container, install dependencies
RUN npm install
# copy the rest of the files to the working directory
COPY . .
# expose port 5173 to tell Docker that the container listens on the specified network ports at runtime
EXPOSE 5173
# defines the command to run when the container starts, in this case npm run dev
CMD npm run dev
Step3: Create .dockerignore file
A dockerignore file specifies the files to ignore incase we choose to push to the Docker Hub. In this case, we would ignore node_modules.
node_modules
Step4: Build and Run the docker image
To build the docker image, run the command below:
# the fullstop indicaes that the current directory is for the build
docker build -t docker-react .
You should see commands similar to be image below in your terminal as it performs the build command. You should see from the build command that all the instructions we specified in the Dockerfile are being executed.

Run the docker image with the command below:
docker run docker-react
Step5: Map the Port so it can be displayed on Browser
After executing the command "docker run docker-react" you would notice that the react application will still not be displayed on browser. This is because the host system and the docker container are not in communication with each other.
Recall that containers offer isolation by default and as a result do not communicate the port location to the external environments. To solve this, we make use of a concept called port mapping, this enables the container communicate the port to the host system so that the browser can access and display it.
Run the following command to map the port and communicate to the host system.
docker run -p 5173:5173 -v "$(pwd):/app" -v /app/node_modules docker-react
By running this command, you map the port to 5173 to be used on the browser and refresh after updates. This is very crucial when packaging applications into containers, at this point anyone following the article must have successfully understood packaging apps into containers.
In the course of this article, we have covered the process of installing docker desktop, pulling and running an image from Docker Hub plus creating a Dockerfile. This article has been designed to provide beginner to intermediate experience in working with containers before facing other concepts like docker compose, compose watch like we will in the third module.
If you found this helpful, give me a follow and subscribe to my news letter.