Building custom npm packages to solve problems.
Contributing to the "JavaScript" Ecosystem

My name is Akalonu Chukwuduzie Blaise 🤓, I'm a software Engineer 🚀with the TypeScript, React, Node.js, Solidity interested in building products and developing interest in Fintech.
Hi there👋,
If you are reading this then you must fall into one of the following categories:
You just randomly stumbled across this article🌚.
You want to build your own npm package to solve a problem🤓.
You randomly stumbled across this article and now you are interested in building one👌.
You can comment to let me know which category you belong to at the end, but that is by the way. It is essential for a JavaScript developer to make use of "npm" especially when working with its frameworks and libraries.
About npm
Firstly, "npm" (node package manager) is the world's largest software registry. Software Developers round the world use npm to share and manage packages to build software, packages can also be shared privately too depending.
Think of it like how "maven" is to java and how "pip" is to the python in their various ecosystems for development.👍
Npm is majorly divided into three components:
The website (to discover packages, confirm versions and other utilities)
The command line interface (CLI)
The registry (public database of JavaScript software).
I believe I have introduced node package manager enough and now we can jump into building a package right away.
Time to Build
Create an Account and choose a name for your package.
First of, head over to the npm website and create an account, it is pretty straightforward and should not take much tine.
The next step is to choose a name for your package, ensure the name you choose is unique. So lets say you wanted the name to be called special-package. You should run a search on npm and make sure no other package has the exact name or a very similar name to it.
If there is a name similar to it, you have to choose another name for the package.
Project Setup and Installations
Install Node.js and Npm
Node.js is a JavaScript runtime, it lets developers work with JavaScript to build command line tools, and enables JavaScript to be used a backend framework rather than just working on the browser. Node.js is crucial because "npm" comes automatically setup once you install it on your computer.
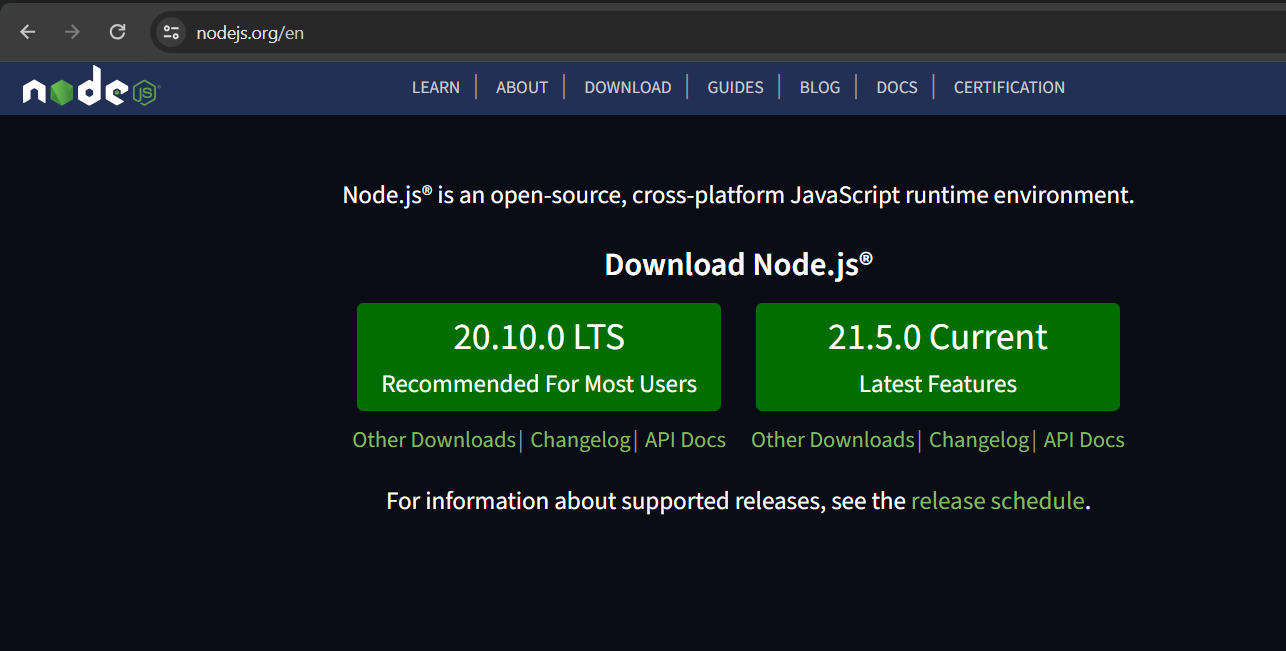
Navigate to the Node.js website, download and install the LTS version.
You can follow this guide to completely understand the process.
Project setup (on your local machine)
In this next step, we would navigate to a directory when you want to create this npm package and initialize a git repository with the command.
git init
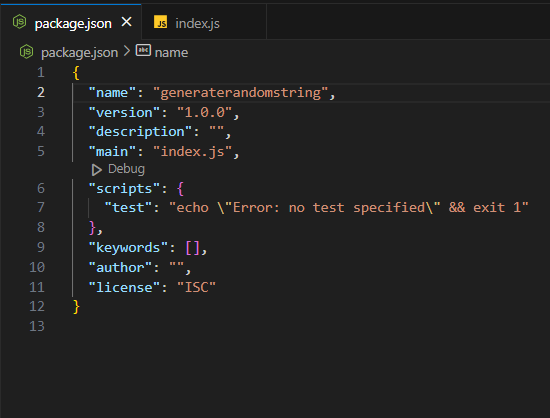
The next step is to create a package.json file, this helps us keep record on project dependencies, their versions and licenses.
npm init -y
Check to see that you have a file similar, generated automatically. Ensure you change the name field in your package.json file to be the name you have chosen for the package. As you have seen mine is called "generaterandomstring".
Code Your Package
Now you need to create an entry file that will be run when the package is required in an application, in this case we can call it index.js.
Now I want to make this a simple package that will return a random string each time it is called. This could be useful in creating secret keys when working with APIs.
You can make your package perform a simple console.log() for a start. It doesn't have to be complex yet.
function generateRandomString() {
    return (Math.random() * 10).toString(36).replace('.', '');
}

console.log(generateRandomString());
Now that we have our code, The next step is to test the package to ensure it works as expected on your local machine. To do that we have to run the following command.
npm link
This command makes the package available globally on your local machine and ready for use. Next create a new directory altogether called test and create another index.js file within.
Now to make the install the package in the current index.js file, run the following command on your CLI. This will create a node_modules folder with the files from the package.
npm link generaterandomstring
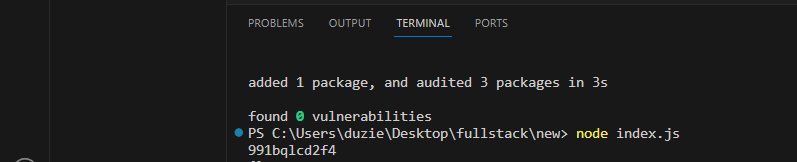
Now we require the packages in the index.js file to see the outcome.
const randomString = require('generaterandomstring');

console.log(randomString);
The result is a random string in the console and you can work with in code. This means our package works fine as expected.
The next and final step is to publish to npm itself, this way other developers can have access to install it on their local machines.
In the directory where you created the package itself, run the following command.
npm login
If it is your first time to login, use the command first.
npm adduser
You will be prompted to add you username and password. You would then see a message similar to this.
Logged in as <your-username> on https://registry.npmjs.org/.
Now finally to publish the package.
npm publish
You can then view your package on your npm profile and share to your friends to work with.
You can then install the package globally and generate it when working on projects.
npm install -g randomgeneratestring
Making Updates
It is important to note that if any updates are to be made to the package after publishing, you would have to change the version in your package.json file to avoid conflicts when you run the npm publish command to update the p.
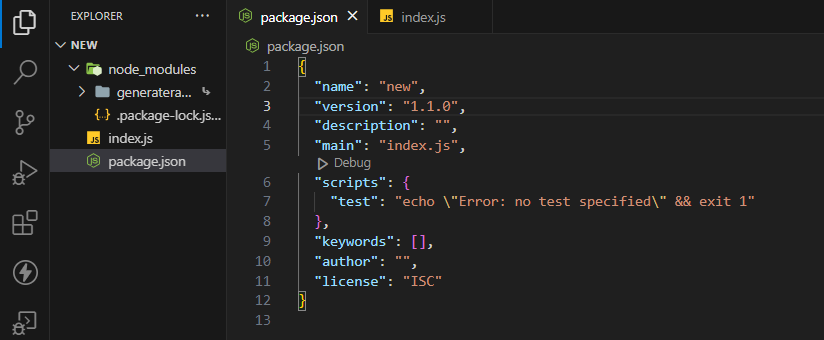
For example I changed the versions to 1.1.0 instead of 1.0.0 as it previously was. Building npm packages are real fun especially when you are solving a problem you face personally or trying to automate a process.
If you want to see a Node.js(Express.js) API generator I built to help with project setup, you can check my github.
With just enough comments I will probably write and article on that too.
Till next time see you "same place, same url 🤣" .
Thank you for reading also give me a follow🥺.


